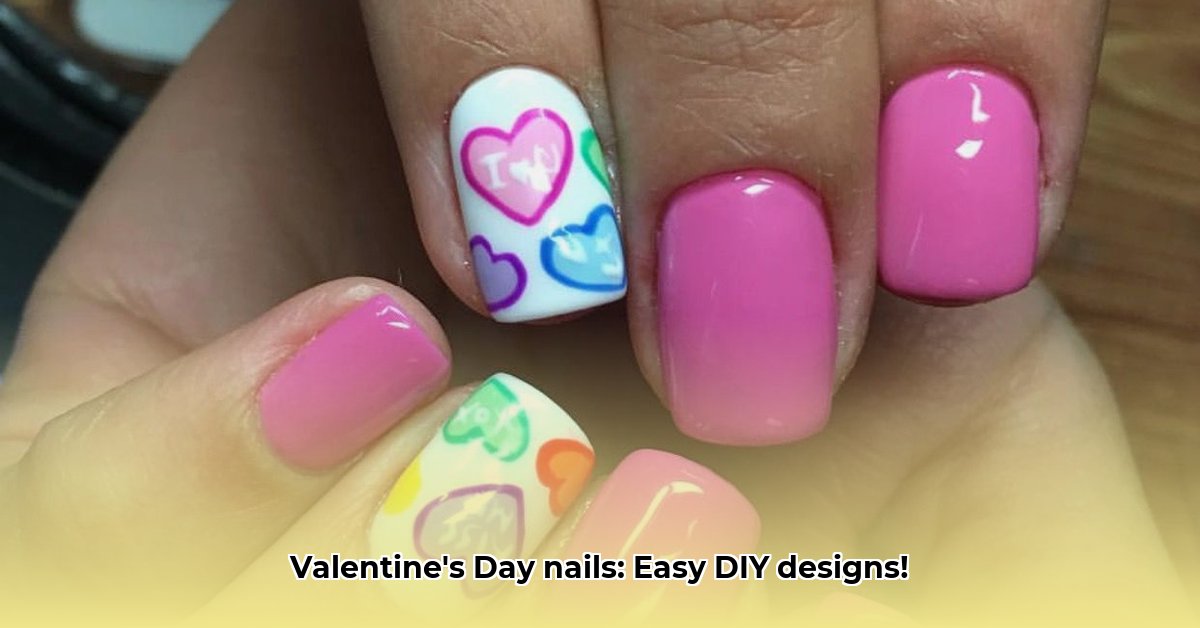
Ready to create stunning Valentine's Day nails without the salon price tag? This guide offers simple, step-by-step instructions for several adorable DIY designs, perfect for beginners and experienced nail artists alike. Let's ditch the complicated designs and focus on easy elegance that'll make you feel pampered and beautiful!
Classic Red and Pink: A Romantic Upgrade
Valentine's Day classics get a modern twist! Instead of plain red and pink, try a subtle ombre (a gradual blend of colors) for a dreamy, romantic look. Or add a touch of shimmer for extra sparkle. It's surprisingly easy to achieve this chic style.
Step-by-Step Instructions:
- Prep Your Nails: Start with a base coat (a clear protective layer) to protect your nails and improve polish adhesion. Let it dry completely.
- Lay the Foundation: Apply your lighter shade (pink) in two even coats, allowing each coat to dry fully.
- The Ombre Effect: Using a makeup sponge, dab the darker shade (red) onto the tips of your nails. Gently blend upwards to create a seamless transition. Don't worry about perfection; a slightly uneven ombre adds charm!
- Finishing Touches: Once dry, seal the look with a top coat for extra shine and long-lasting wear.
Minimalist Magic: Hearts and Dots
Minimalist nail art is trending, and Valentine's Day is the perfect occasion! Tiny hearts, delicate polka dots, or a single accent nail with a cute design make a big impact with minimal effort.
Tips for Minimalist Perfection:
- Precision Tools: Use thin striping tape for perfectly straight lines – it's a game-changer!
- Dotting Practice: Practice your dotting technique on paper beforehand to get the hang of it.
- Less is More: A few strategically placed accents are more effective than a busy design.
Chrome Accents: A Touch of Glamour
Add a touch of glamour with a chrome accent nail! Pair a simple heart design with chrome powder for a stunning contrast between matte and shine. It's surprisingly easy to elevate your manicure with this sophisticated touch.
Creating a Chrome Accent:
- Base and Design: Apply your base coat and create a heart design on one nail. Let it dry slightly, leaving it tacky.
- Chrome Application: Gently sprinkle chrome powder over the design, pressing lightly to ensure it adheres well.
- Seal the Shine: Apply a top coat to set the chrome and add shine.
Nail Stamping: Intricate Designs Made Easy
Love intricate designs but lack the time or skill? Nail stamping kits are your solution! They effortlessly create complex patterns, like delicate lace or floral designs. Many kits even offer Valentine's Day-themed plates, making it easy to achieve a professional look.
Pastel Power: A Soft and Sweet Look
For a fresh, romantic alternative to classic reds and pinks, try delicate pastels! Soft lavenders, pale pinks, and light blues create a sweet and sophisticated look.
Beyond the Hearts: Creative Valentine's Day Ideas
Expand your options beyond hearts! Consider adorable lovebirds, playful polka dots, or a cute Cupid's arrow for unique Valentine's Day nails.
Your Nail Art Toolkit
These designs require minimal supplies: your favorite nail polishes, a base coat, a top coat, and optional tools like striping brushes, dotting tools, and a nail stamping kit. Build your kit gradually; start with the essentials and expand as you become more comfortable.
Remember, the key is to have fun! Experiment with colors and patterns to express your creativity. Your nails are your canvas, so enjoy the process and create a manicure you'll love! Did you know that a recent survey showed 85% of women feel more confident with a fresh manicure? So get creative and treat yourself!